Bare Minerals Makeup
I have been a long time fan of Bare Minerals makeup from when I first went searching for a great mineral foundation. My mom has always taught me to take good care of my skin so I know the importance of quality makeup. I love bare minerals because it's made of the purest ingredients and feels so great on my skin which can be sensitive to different products. With all the amazing products that Bare Minerals has to offer, they have just added another one to the collection today. The bare skin foundation made it's debut May 1st and I was able to test out this product for the past couple of weeks so now I am hooked. The product is exactly as the name, you really feel bare with it on as if you don't have any foundation on your skin, which I think is really important because no one wants to feel like they have layers caked on their face. You want to only enhance your natural features and help make your skin look the best it can. I also love how thin and weightless it is, plus at the great price point of $29 I think it is a makeup staple that people can afford compared to other makeup brands. Today I am showing how you can get a complete bare minerals look with a few easy steps.
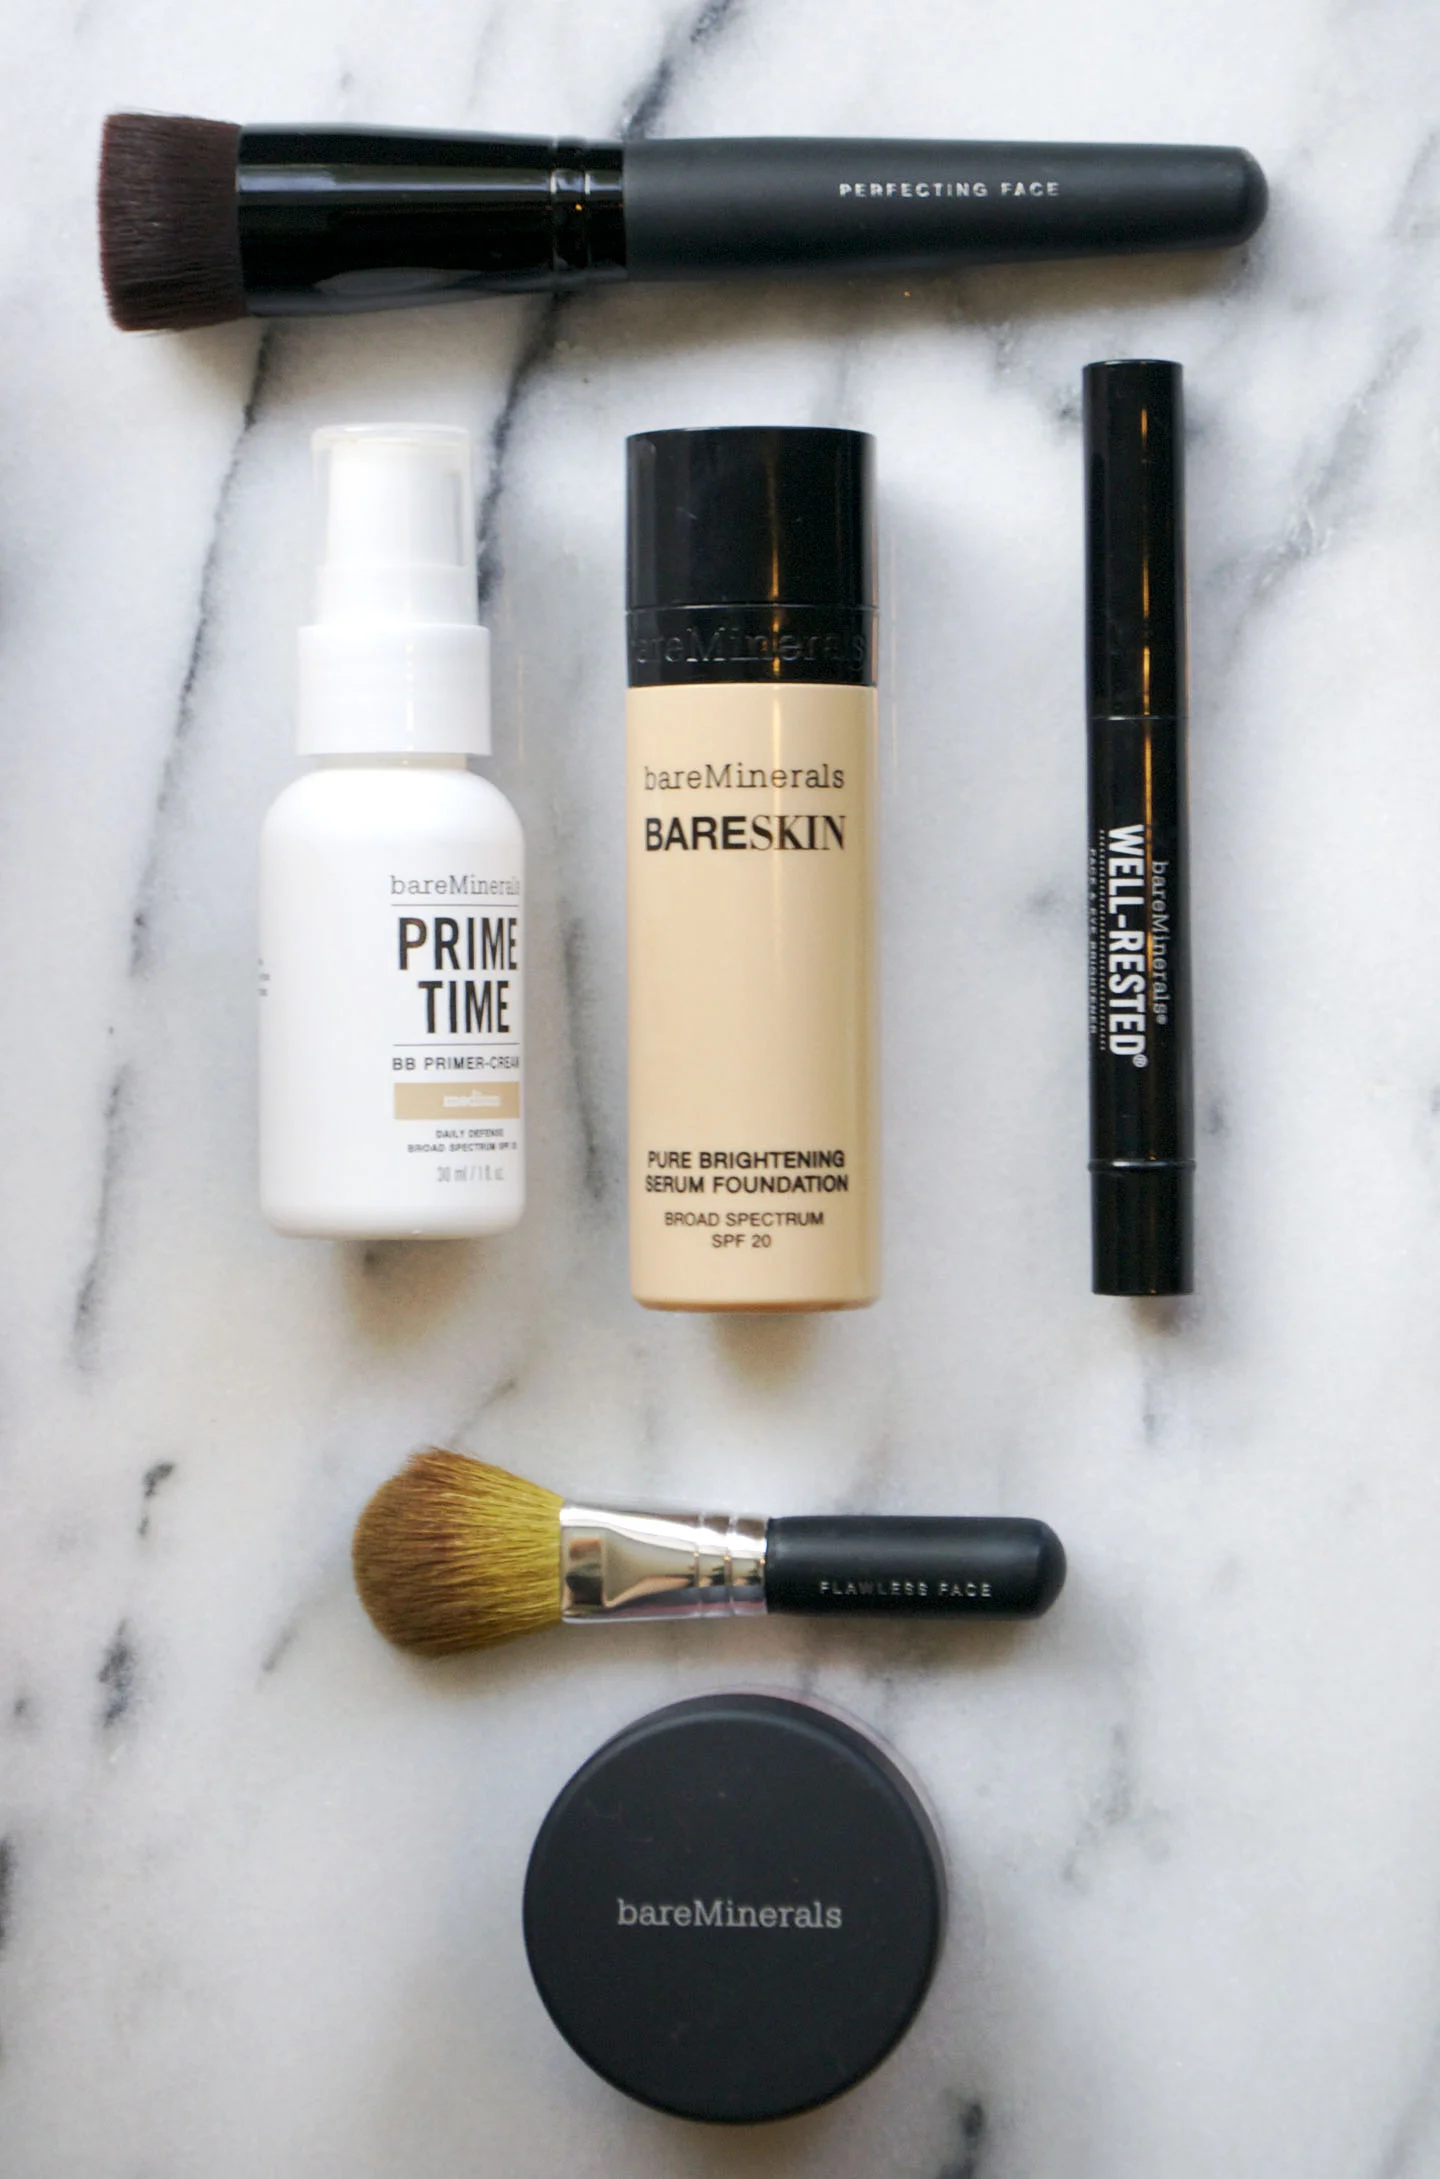


| STEP ONE: PRIMER |
I think that primers really make a difference when applying makeup. They help to smooth out your complexion before the makeup is even on and smooth out your skin to create a better surface for makeup to be applied on. I feel like this primer really does it's job and it's perfectly weightless. Apply this after you have washed and moisturized your face. Make sure it is dry before applying foundation.
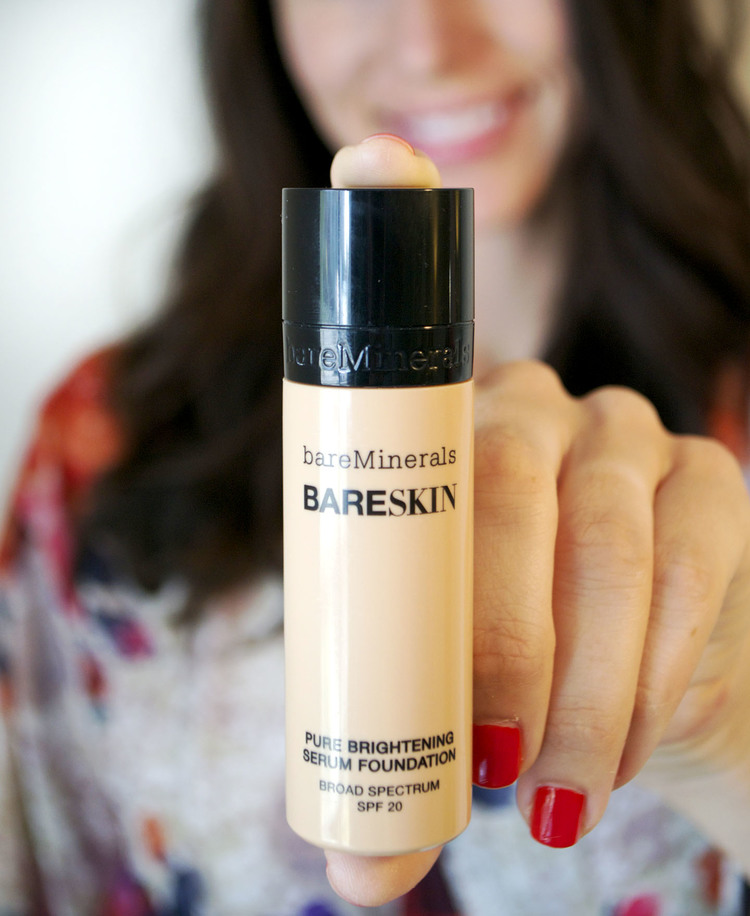
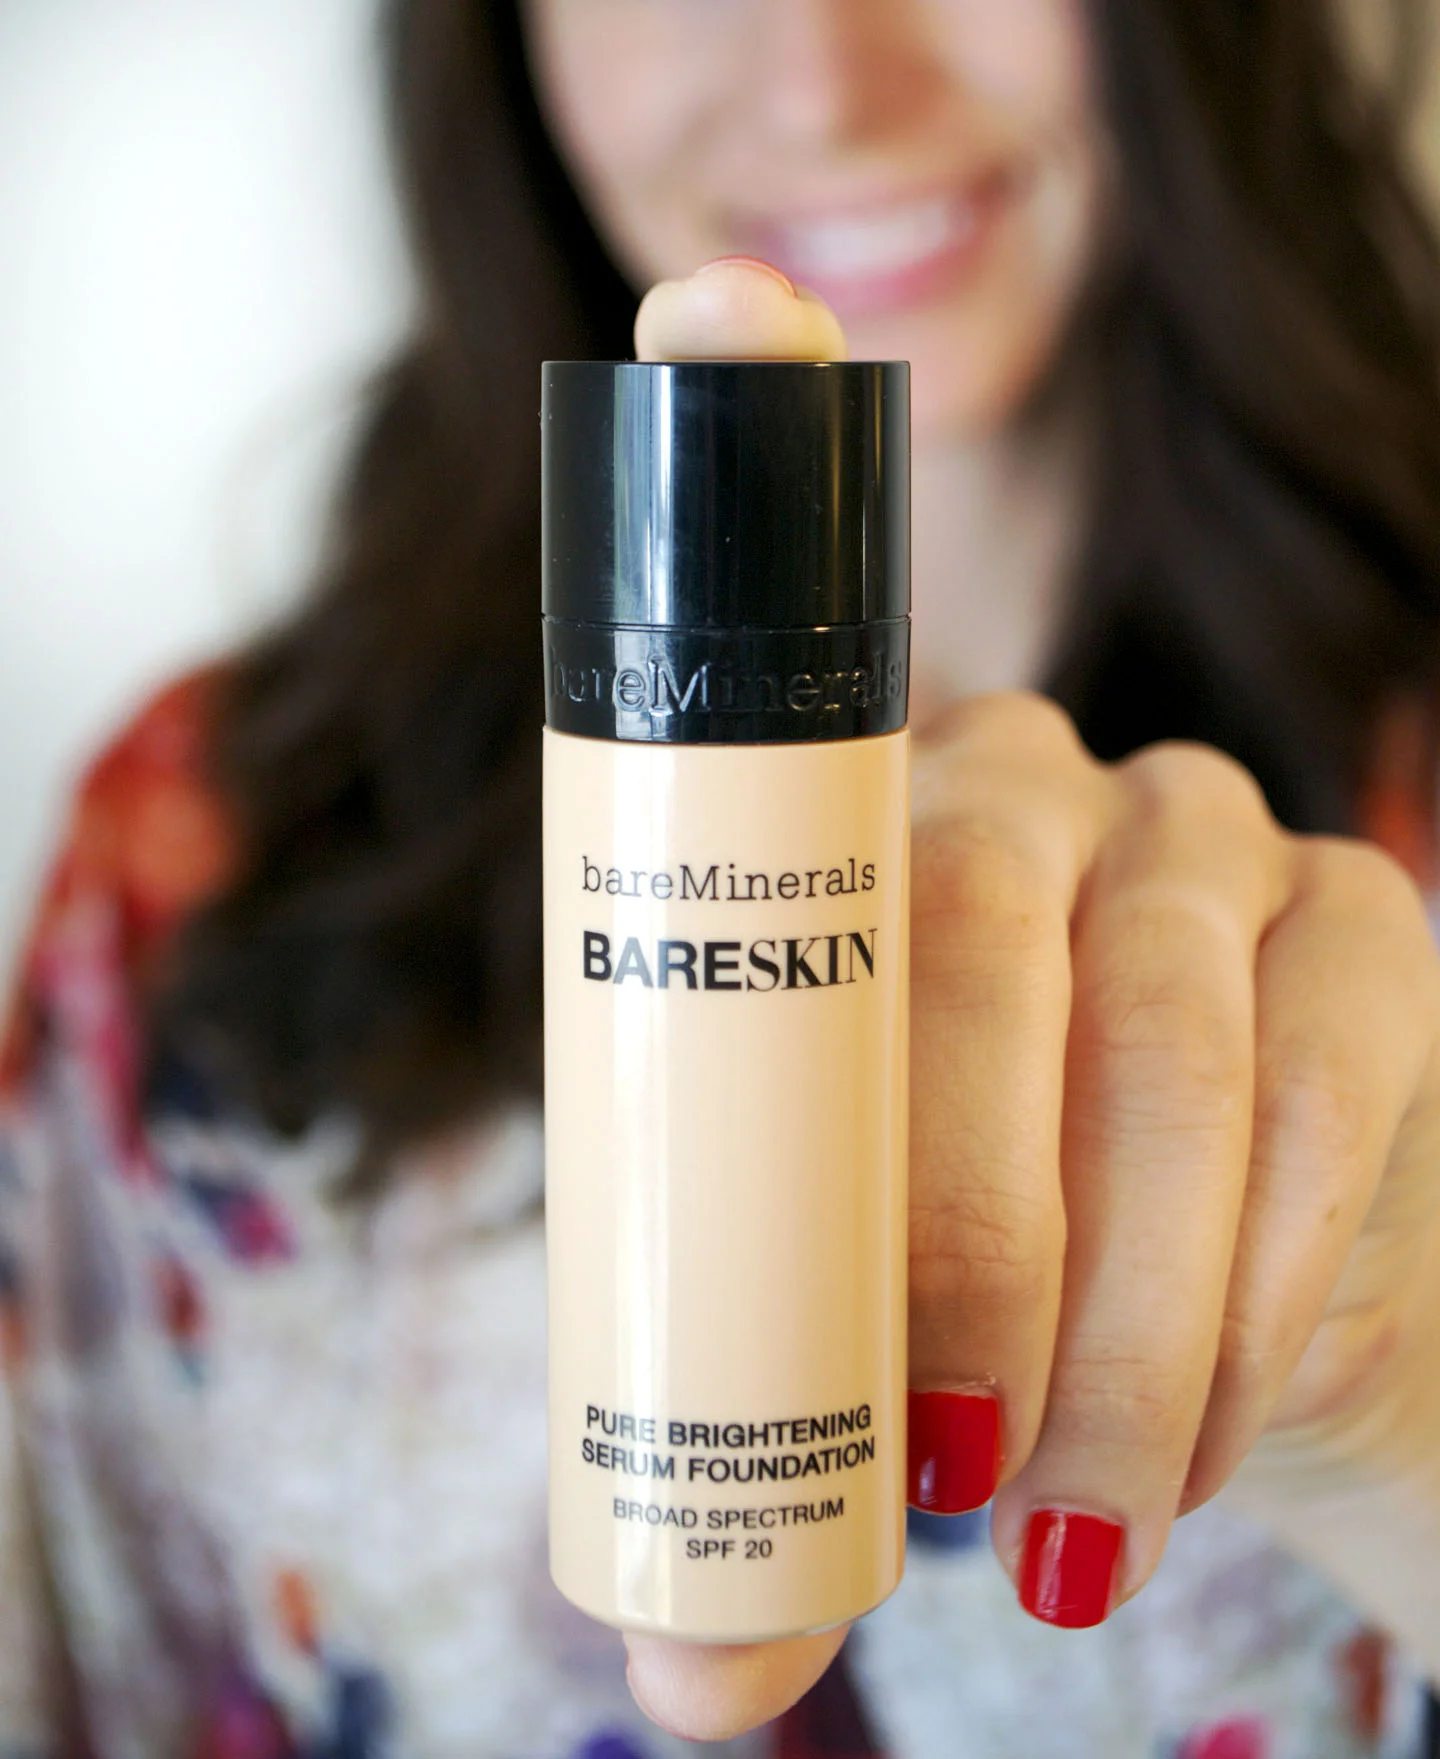
| STEP TWO: BARESKIN FOUNDATION |
This foundation can be applied as heavy or as thin a coverage as you like it. Just start with a couple drops on your perfecting face application brush and then you can add more drops if needed. This foundation is so much lighter and thinner than anything I have ever used.
| STEP THREE: READY FOUNDATION or ORIGINAL POWDER |
If you don't want anymore coverage then you can skip this step, but I like to just brush over my face with the Bare Minerals Ready Foundation with the precision face brush to give a finished look that will last all day and reduces shine. You can also add any concealers to blemishes at this point or apply brightening serum to your eyes.
|STEP FOUR: MINERAL VEIL |
I don't always use a mineral veil but after learning about the benefits, I think I need to make it a routine. The mineral veil helps lock in your makeup and gives that airbrushed look that we all dream about. Plus an extra bonus is that it adds some SPF 25 to your skin which we know is a daily must. Use a full flawless application brush to lightly spread the powder over your entire face.
| STEP FIVE: BLUSH |
There are a few different ways you can go with blush, either by using a bronzer first to contour your face and then apply a blush after, or if you want to just highlight your cheeks you can go for the bare radiance that is more of lose all over powder but I still like it as a blush. The best tip I recently learned was that you need to apply your blush by starting at the height of your cheek bones and stroke down towards your mouth. I always applied blush the opposite way for some reason so I love learning this new trick because I think it really makes a difference in the application. The great part about the bare radiance powder is that it can be used on your eyes and lips, while giving your skin that dewy glow.
| STEP SIX: EYELINER |
I love this eyeliner because it twists up and I can't stand having to sharpen an eyeliner only to have them break off and then you are left with a little stump. [trust me] This eyeliner goes on smooth and it is easy to create different looks with it like cat-eyes or just an all over eye-defining look with the smudge tip that is built in. I never wear eye shadow on a daily basis, but I know that it really makes a difference in making my eyes stand out when I do and I love this palette, if I wear it.
| STEP SEVEN: MASCARA |
I am pretty picky when it comes to mascara because I really love great lashes. This mascara acts like three of them put into one that volumizes, lengthens, thickens, separates, and lasts the whole day which is amazing considering I never have time to reapply anything throughout the day [except maybe some lipgloss]. The trick to mastering the fabulous lashes is to make sure you get off any excess mascara when you open the wand and then as you apply it to your lashes - start at the bottom and wiggle the wand up your lashes while twisting it as well. Apply a couple of coats for extra thickness.
| STEP EIGHT: LIPS |
I am a lipstick hoarder so I have tried a lot of different brands and I can honestly say that the Bare Minerals Marvelous Moxie lipstick is amazing. It is definitely one of the best I have tried. Everything about it is great - the sleek case, the way the lipstick glides on so easily and keeps your lips moisturized, unlike most lipsticks that dry them out and I feel like it lasts so long without ever worrying about reapplying. It just feels so much better than any other lipstick I've tried and that's saying something. But if you aren't wanting a bold lip look, I also like the marvelous moxie lipgloss.